Category: Interior Decorating


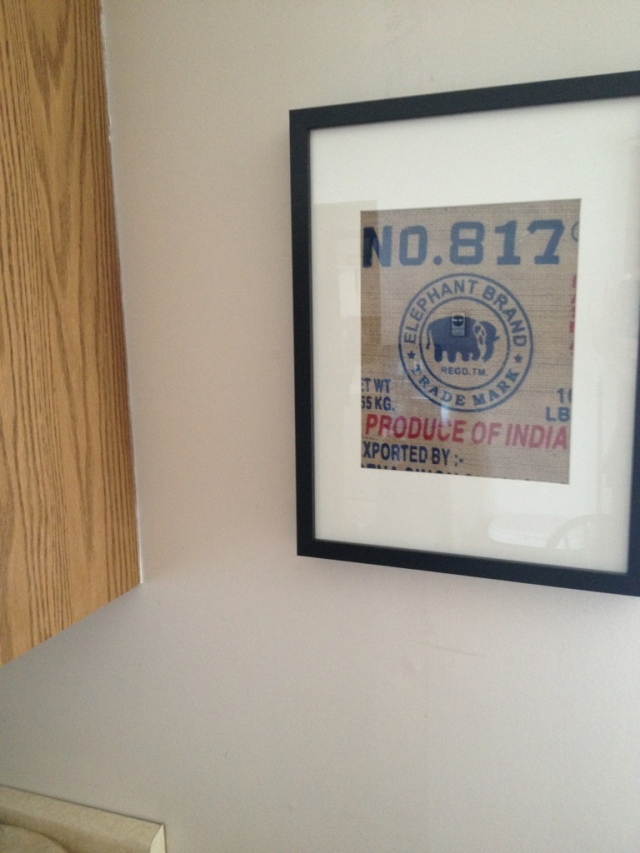
I often talk about seeing the beauty in ordinary things. This can be both a gift and a curse (mild hoarding issues!). Take for instance, that cool looking burlap bag that comes with the Indian rice we buy. I just can’t throw the thing away, and it’s been hanging off one of my kitchen cupboards for about a month now.

I’d been thinking of using it as a beach bag (even though I have at least 10 real ones), or to store fabric craft supplies in (I have plastic bins for that), or you know, something….

Then the other day, I noticed that our kitchen is really sadly lacking in artwork. I always struggle to find something appropriate that I like – food art? Tacky! Roosters and pigs? Not my style! Suddenly, inspiration struck and I decided to frame the rice bag. A bit off the wall maybe, but my style is a modern rustic blend, so I think it actually works perfectly.

20140427-152821.jpg

At a cost of under $10 ($9.99 for the frame at IKEA, bag free with rice), I consider this project a success. What do you think?

Penny Wall Art

Awhile ago, I saw a post on Pinterest that really caught my eye. It was a wall art piece made from pennies. It was something like this:

20131221-133516.jpg

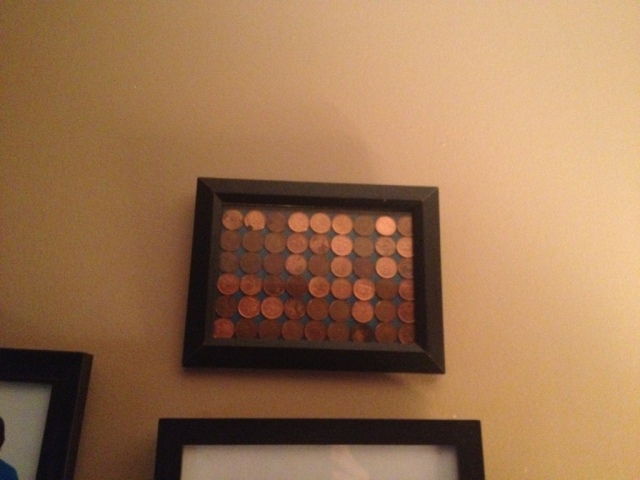
This year, the Canadian penny was taken out of circulation. I thought it might be appropriate to be sure to keep some around by making my own piece of artwork. Bored last night, I decided to get to it. All it took was a cheap frame, a piece of card stock, a hot glue gun, and some pennies. It took me maybe 20 minutes. Here’s my version:

20131221-133839.jpg

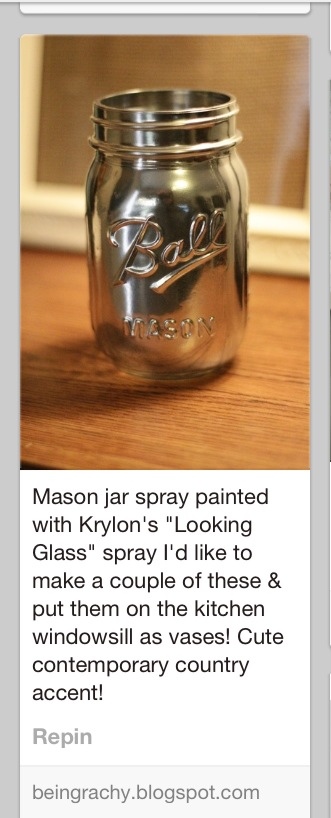
I love mason jars. They are so simple and pretty – I use them all over my house, and for packaging bath products. I saw this beautiful craft idea on Pinterest and thought I’d try it out.

20130420-085411.jpg
Off I went to Canadian Tire to buy some spray paint. The store carried the Krylon brand, but not the “Looking Glass” spray. Instead I bought Krylon’s metallic silver.
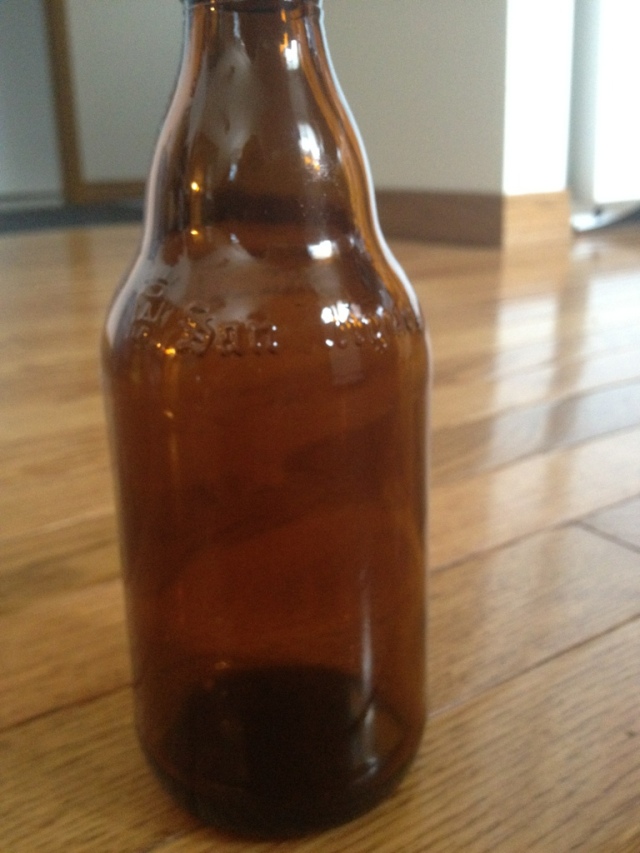
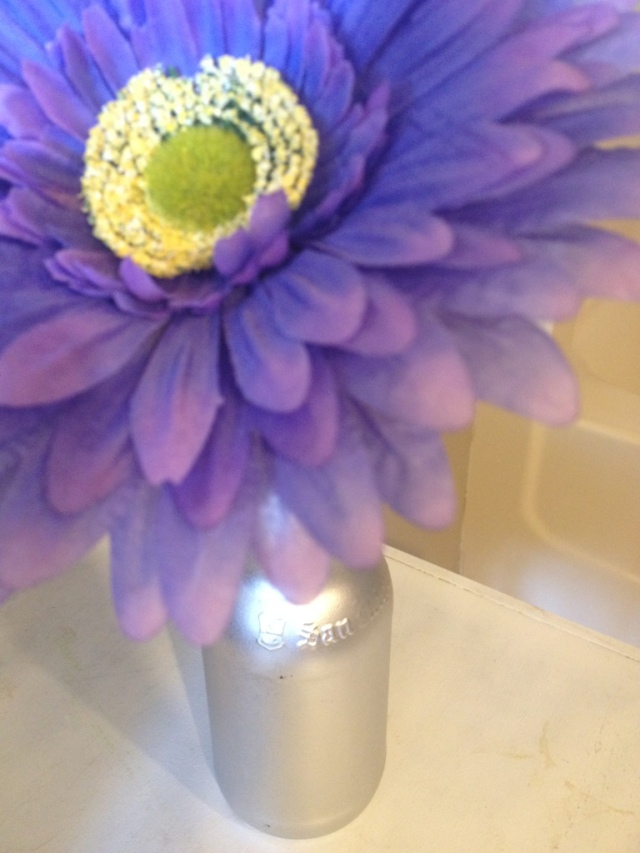
I decided to also spray paint a stubby beer bottle that I love the shape of.

20130420-085746.jpg
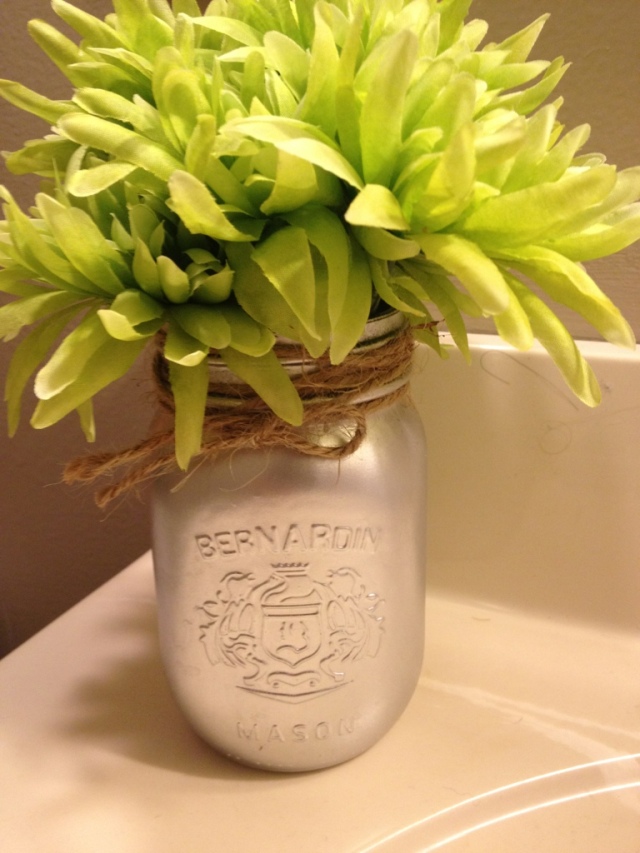
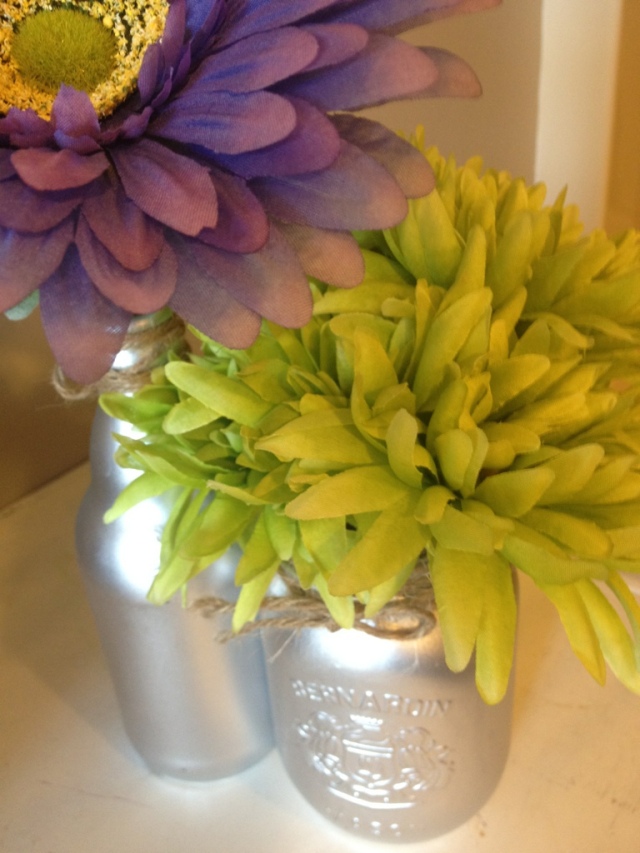
Let me start by saying the two different colours of spray paint are definitely not one and the same. I had really hoped that the metallic silver would have a somewhat reflective finish, but the end result was quite a dull finish on the glass objects, as you can see here.

20130521-172115.jpg

20130521-172605.jpg
I think that the project still turned out looking okay, but I can’t wait to try the actual “Looking Glass” spray.

20130521-172719.jpg

The Cubby Make-Over

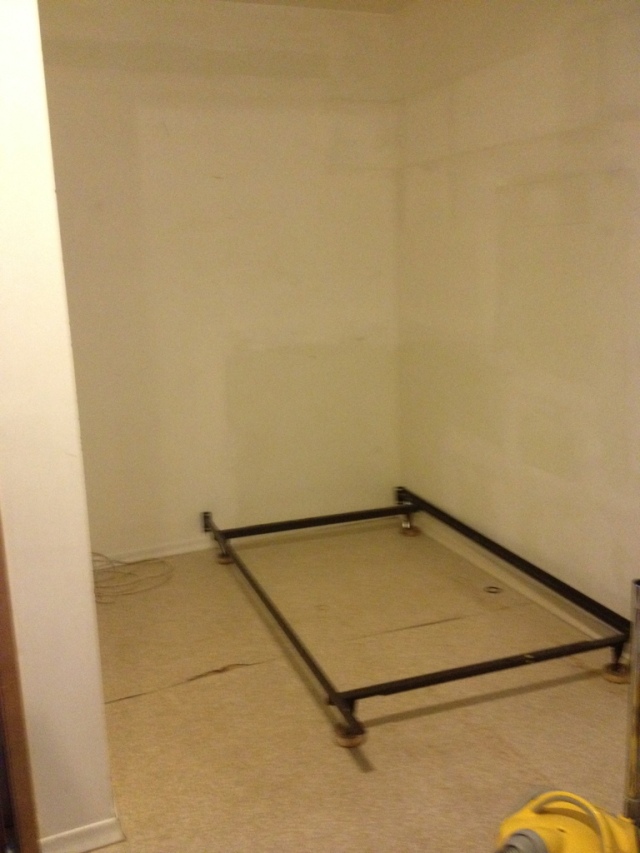
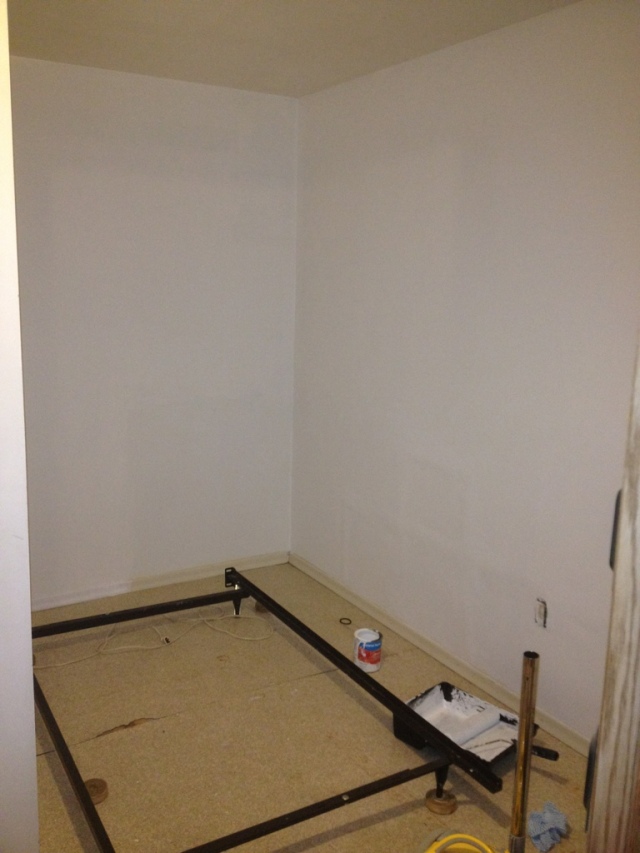
With a family of six, space is at a premium in our little lake front cabin. When we moved in, my eldest daughter refused to share a room with the two younger girls. The only other option was a tiny corner off the laundry room, which she not so affectionately refers to as her “cubby – because no one could call that a room! It’s worse than Harry Potter’s closet under the stairs!!” Although it was her choice, my daughter hates it! I can understand why….

Before

20130217-172049.jpg

Although stripped bare in this shot, it’s not hard to imagine what a sad little space that is! I am doing a quick room makeover for her this weekend. I definitely have a vision in my head.

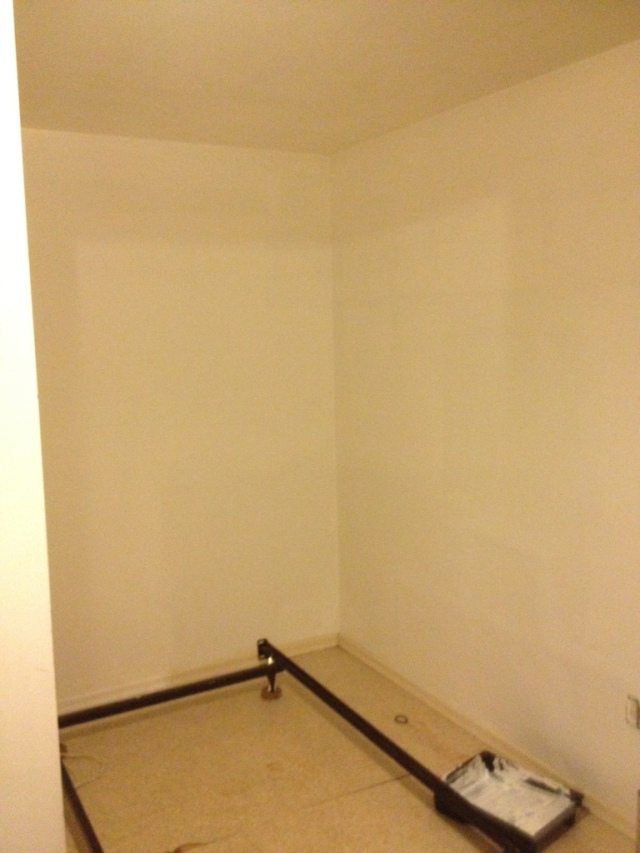
Step 1 – Priming

20130217-185536.jpg

You can’t tell from the first shot, but we had to repair some patches in the drywall. If you can imagine, it actually looked even worse than the “before” shot. After taping and mudding, a good coat of primer was definitely needed.

Step 2 – Brighten it Up!

20130217-185707.jpg

After letting the primer dry, a quick coat of white latex paint on two of the walls really freshens things up!

Step 3 – A Dash of Colour

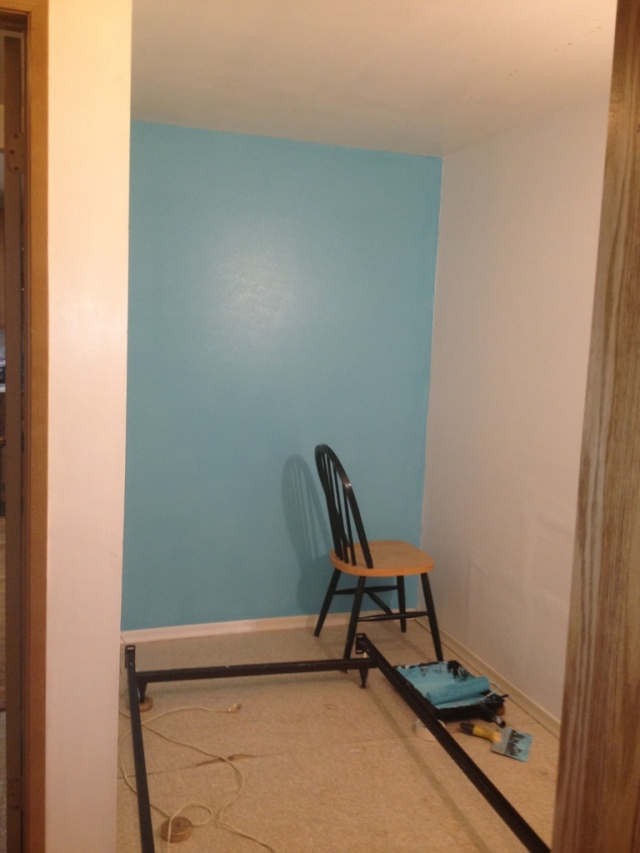
20130217-221640.jpg

The end wall turns into the feature wall and adds some personality with a splash of blue. I chose this colour based on my daughter’s favourite bedding.

Step 4 – The Accents

20130217-221752.jpg

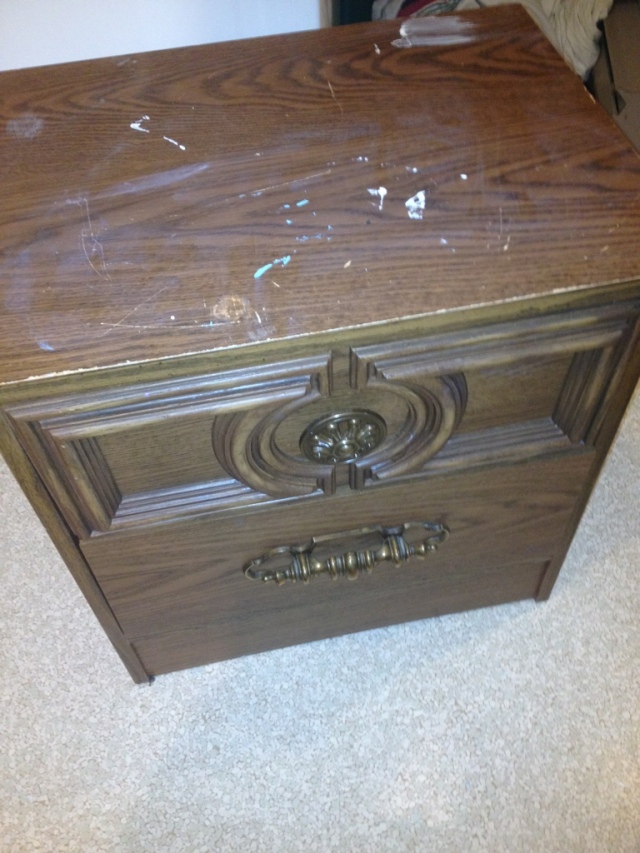
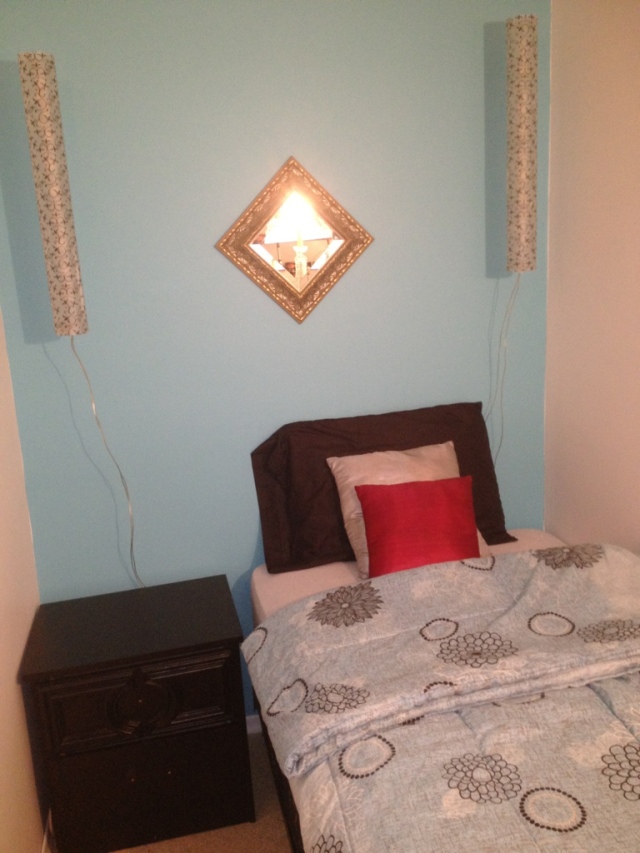
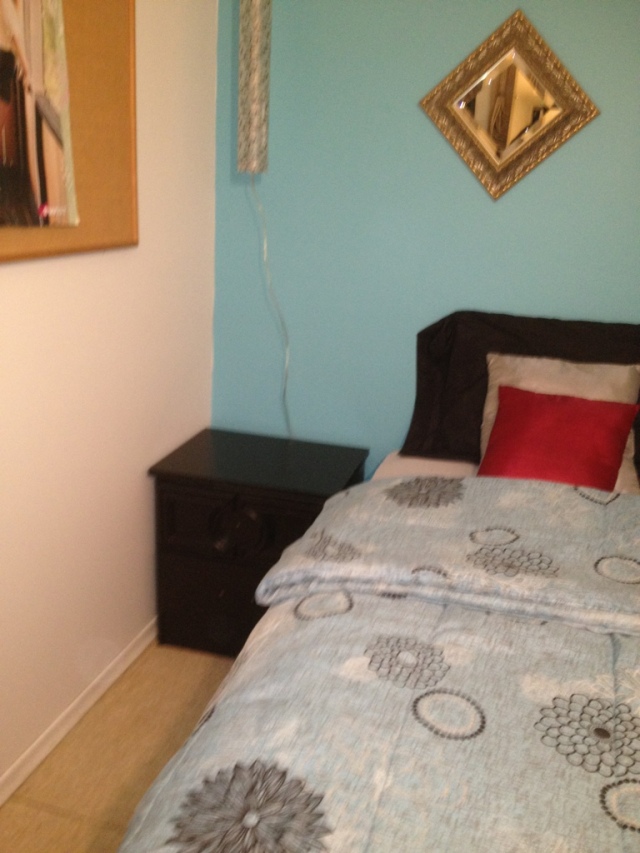
There is obviously not a lot of space for furniture in this room. I decided to repaint this old ugly night stand. Although hideous, it is made very well and has an interesting design on the drawer. All it needs is a good coat of primer, some black semi gloss paint, and new hardware to spruce it up.

These lights have always hung in my living room, but I knew they would look great in here.

20130218-115423.jpg

After – The Finished Product

20130218-214407.jpg

This mini room make over was a success! It took only a couple of hours and I think it looks great. My daughter absolutely loves it!

20130218-214456.jpg
** I purchased brushed nickel knobs for the end table. But the screws that came with them were way too long! So – no knobs in these pictures, but I know they will look great.**

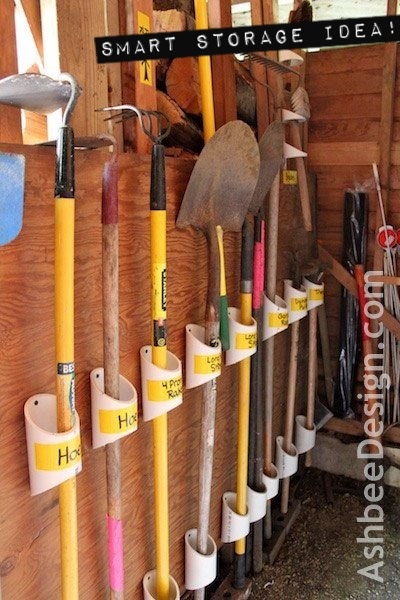
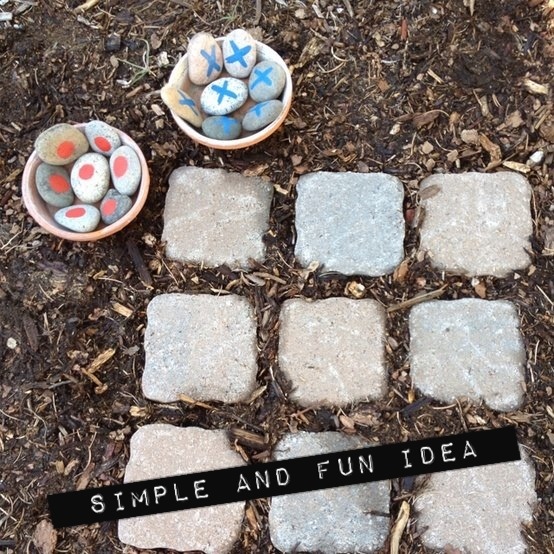
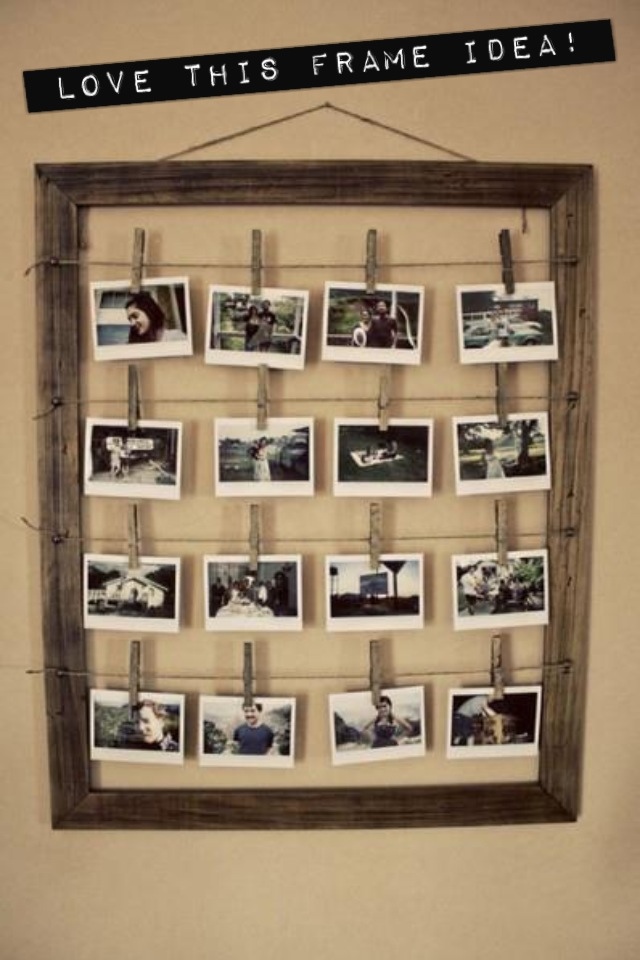
I love to browse online and through magazines for inspiration….here are some recent ideas that caught my eye.

20130217-132301.jpg

20130217-132315.jpg

20130217-132326.jpg

20130217-132337.jpg

Creative Upcycling

20130216-145652.jpg

This cute little guy is getting yellowed and worn and looking a bit tattered…but my son absolutely loves this thing!

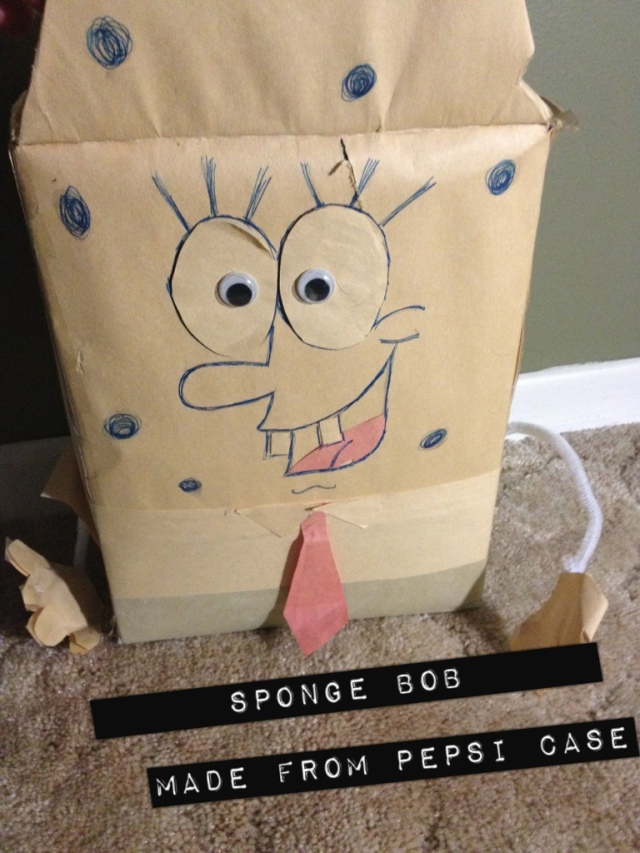
It must be at least four years old. Bored one day, and seeing a need for some place to store my son’s video games in his room, I made this Sponge Bob from a cardboard Pepsi box. I searched online for images to be sure I got every detail right. I glued plain computer paper and colored construction paper onto the box. I used a Sharpie to freehand the face and the sponge holes. Details like the tie, pants, and hands were also made from construction paper. I stuck on some googly eyes and I used pipe cleaners for the arms. So easy and fun – this project took me less than an hour to complete. I think I need to make him a new one! My son adores it and it adds some fun character to his bedroom.

Owl Pillow

I kinda have a thing for owls. As I post my ideas, I’m sure that will become obvious!

20121206-143823.jpg

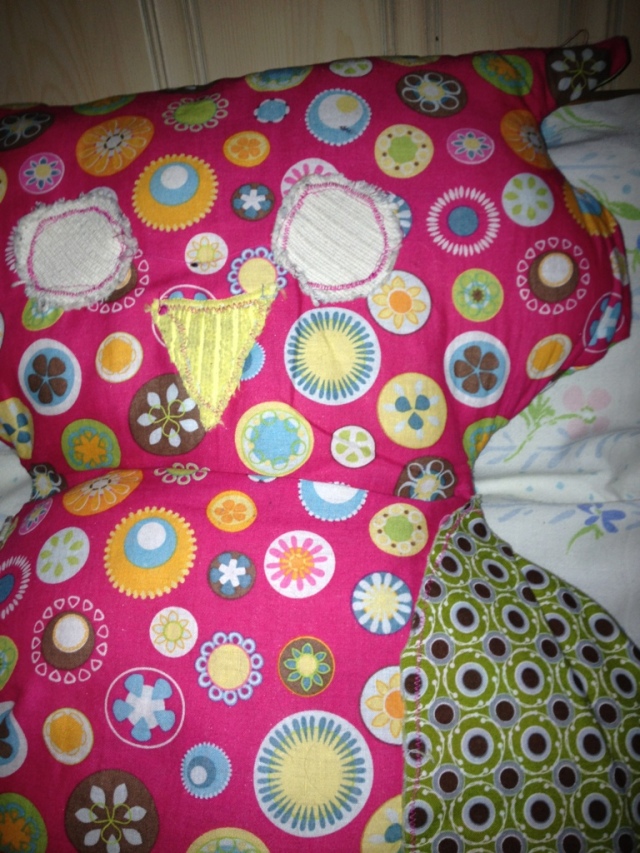
I wanted to make my girls something that was a combination of a stuffy toy and a pillow and I wanted to add some pops of bright colour to their bedrooms. When picking a shape, I chose an owl. (Although I bought the fabric for this project, this would be a great excuse to use up biggish left overs from other pieces.) I free hand drew the outline of an owl on a big piece of paper, and then traced the shape onto the pieces of fabric for the front and back of the owl. I did the same thing for the two wings, and then used a zig zag stitch to attach them to the owl’s front side. I used left over scraps of fabric for the eyes and the beak. After stitching it all together, I stuffed it with polyester filling and closed it up. It was quick and easy! My daughter absolutely loves this and sleeps with it every night! This project was a success!

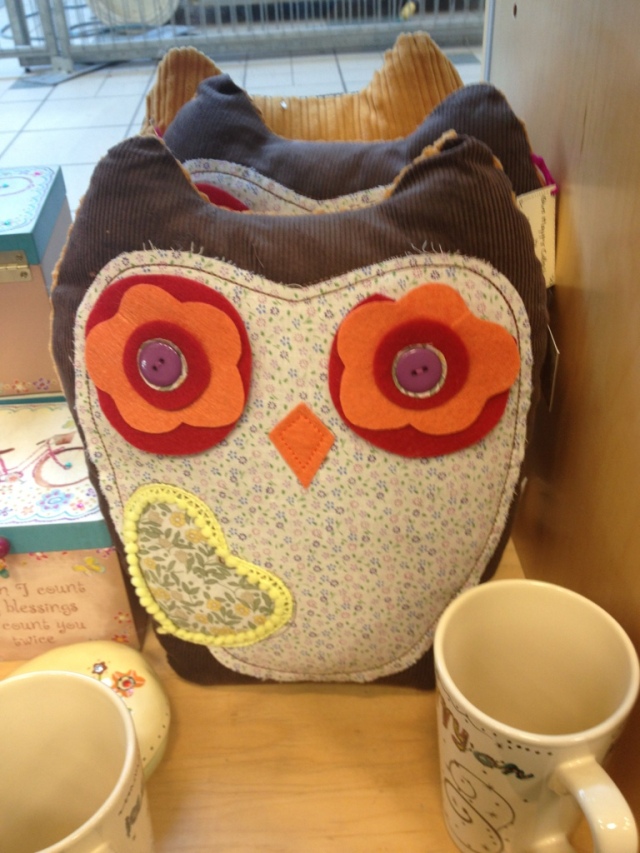
On a side note, I wasn’t totally happy with the shape of the first attempt, and would tweak it a bit for future versions! I saw this little guy in a store and will try something close to this shape next time.

20121205-150221.jpg